Adding a Starting Animation to Your Screen
Working with animations
Teaser
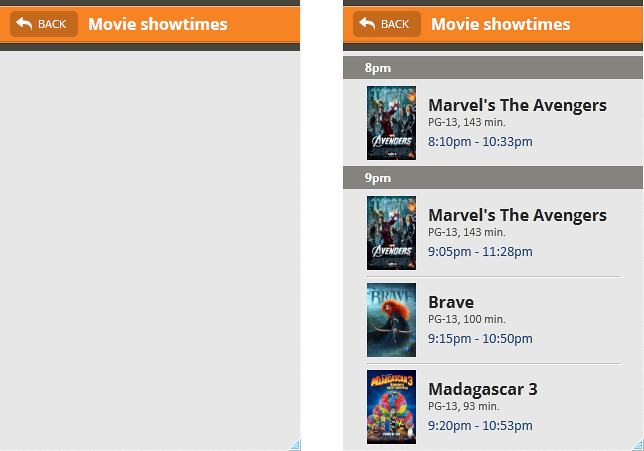
At the end of this topic you will have a screen with a starting animation. The following pictures show a screen from the FindFlix sample at the beginning and end of a starting animation. You can find it in the Workspaces tab of the Application Menu.
What You Need
We're starting with a screen that has:
- a container
- a group with an image and 2 texts
The group must have its transparency set to the maximum level, but we've changed this setting so the group can be seen in the picture. The header is not necessary for the procedure. The main thing is to set up the screen the way you want it to look initially, and Indigo can use what you have designed so far as the starting point for the opening animation.

In Brief
These are the main steps of the procedure:
- Defining an opening animation.
- Adding the changes to the screen and animating them.
- Running the screen preview.
Step By Step
(a-1) 1. Define the opening animation.
Expand the
Animation Timelinepanel by double-clicking anywhere on the bar at the bottom of the screen.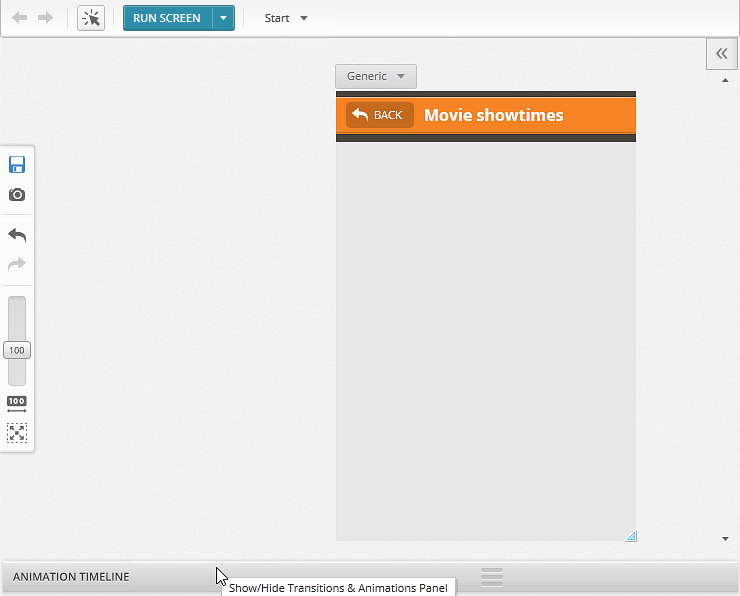
The
Animation Timelinepanel appears.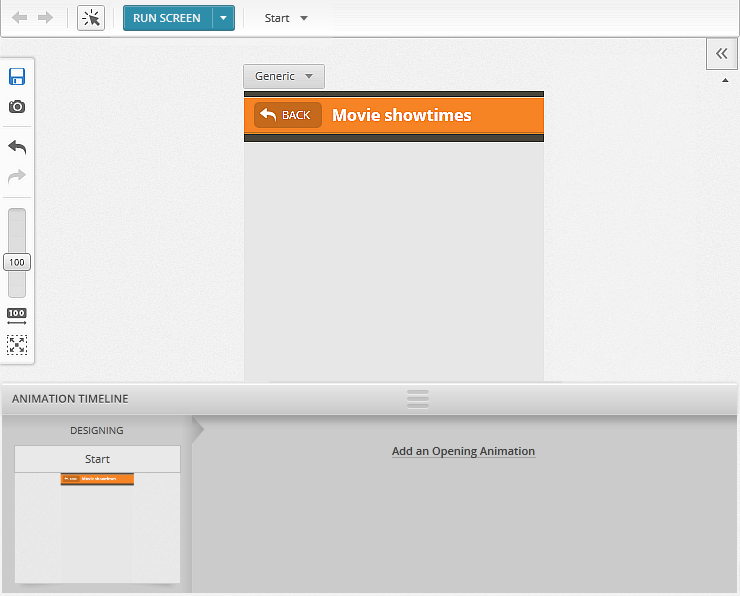
Click the
Add an Opening Animationlink.
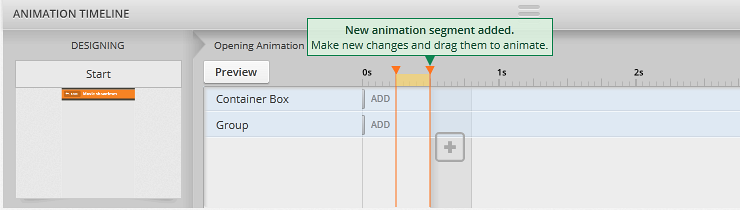
You will see that what you've already designed is displayed in the first animation segment, and that a new animation segment is added after it. Each animation segment works as a step in the whole animation.
Animation segments are useful for adding progressive changes to the same elements, for example, adding an element with a fade in effect in one segment and then having it move in the next. If you want to make changes to the initial screen design, you just select the first animation segment by clicking on it in the timeline. Since we are making changes after that, we'll leave the new segment selected and make changes from there.
(a-2) 2. Add the changes to the screen and animate them.
Change the transparency value for the group.
In the group editor, drag the slider to its leftmost position, so the value is set to 0.
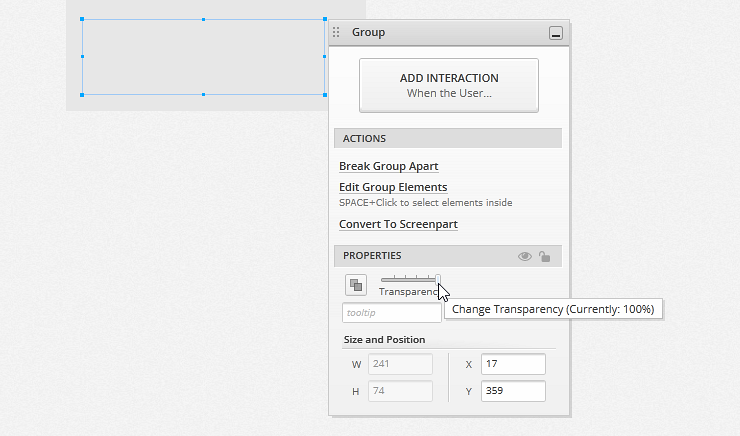
The
Set Opacityaction is added to the animation segment in theTimeline.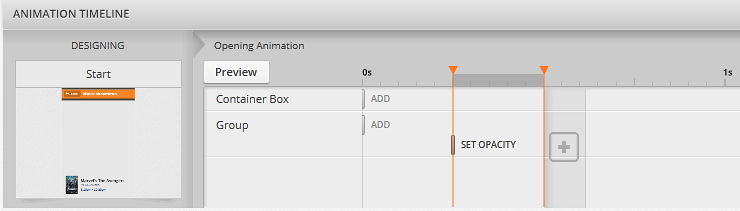
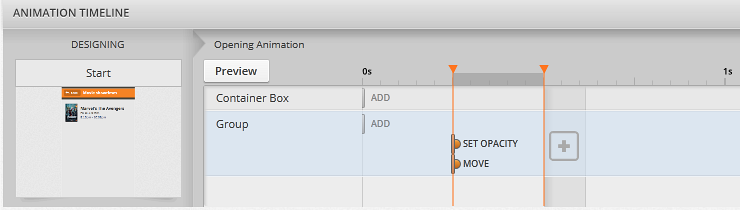
Move the group.
Drag the group and move it to the top of the container. The move action for the group also appears in the Timeline.
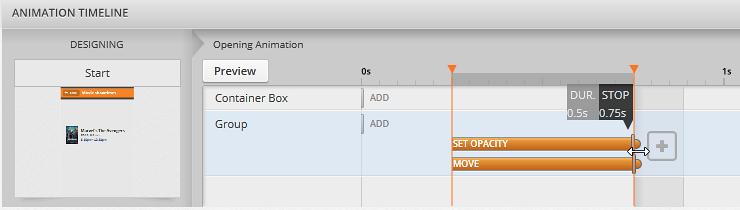
Animate the actions.
Select both actions by clicking and holding the Shift key. Start dragging when you see the double sided arrow. This arrow indicates you will resize the selected items to extend their duration.
(a-3) 3. Run the screen preview.
Click on the Run Screen button at the top of the designer.

The preview runs and you can see your animation.
Learn More
Here are some suggested topics: