Narrating a User's Story with a Storyboard
Designing with Storyboards
Why Narrate?
Storytelling is very useful to explore user experiences, helping visualize the context where software apps are used and how users might interact with them. Being able to effectively tell these stories is really important in interaction design and Indigo helps you do that by including storyboards. By creating a narrative you can understand and share knowledge about when, why, and how things happen. Working on storyboards promotes communication, sharing ideas and concepts with others, and working collaboratively towards developing the best design ideas possible.
Telling Your Story
Narrative text and pictures, both help you tell your story. Each step in a storyboard´s interaction flow contains a box for visual representation (an image or scene) and some narrative text (summary and detail).
Possible approaches to narrating
With Indigo you can follow different approaches to narrating your story. These are:
- Text first
- Pictures first
- Screens first
Text first
As a best practice in user experience (UX) design, designers will often write down stories (scenarios), describing what a person wants to achieve. These can start with a simple goal or desire statement, but will be elaborated into some kind of step by step narrative describing how a person would achieve that goal interacting with the software being designed. Typically, these descriptions do not include user interface (UI) specifics (e.g., clicks the Add button) but rather more generalized info (e.g., chooses to add). The reason is that this leaves UI design and specification to the actual UI sketching, which you can do when you create screens in Indigo.
To write stories in Indigo: select the step and type the summary, hit Enter to type the detail, hit Tab to create the next step, type the summary, and so on…

Why summary and detail?
If your descriptions are very verbose, you may want to summarize them, so it is easier to scan the storyboard. In this case, you can type the summary first, then hit Enter and type the fuller description. If you don't want or need to do this, you can skip hitting Enter and just Tab to the next step.
Pictures first
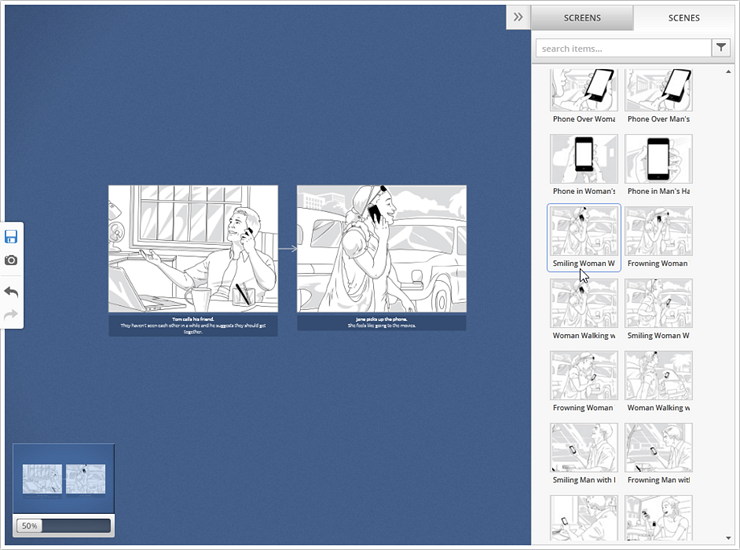
If you're more of a visual thinker, or maybe you have a story in your head that you don't want to write out (yet), you can skip writing the story text and start with pictures. To do this in Indigo, you can just drag out some scenes from the Scenes tab in the Toolbox. You can use this approach to explore different scenarios, try out different people or different situations before you get into the details of adding text or designing the screens for your prototype. Later on you can add or replace the content in some boxes with actual screens you design in your prototype.
Drag a scene onto the box, hit Tab to create a new step, drag a scene and so on…

Screens first
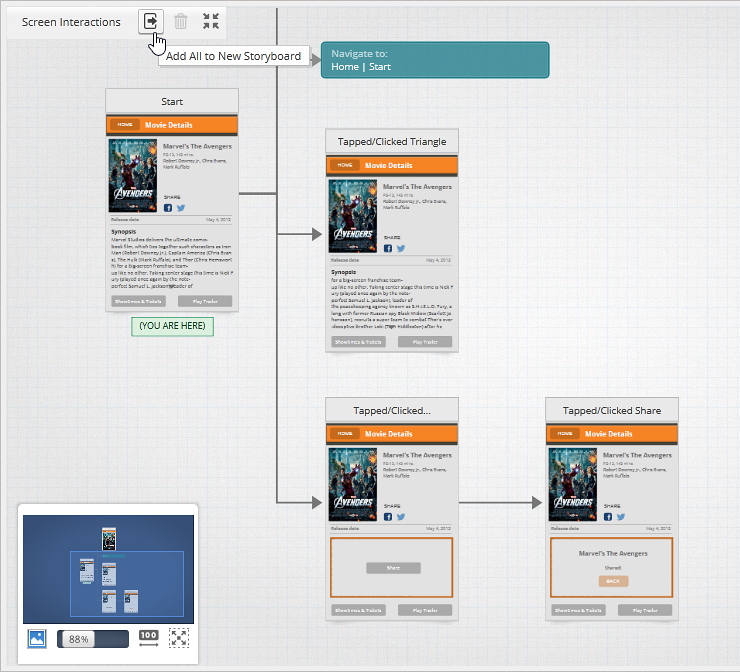
You started by designing a screen, creating a whole device screen or an application window and now you want to build the story around it. Sometimes you just want to jump right into sketching out your screens, and Indigo supports that, too. Make a new screen and add some interactions, then you can use the screen Interactions Explorer to select some or all of your interactions, and use the Export All to Storyboard option. With this option, you will create a new storyboard with the selected interactions already linked up for you. Then you can just fill in the text—this is particularly useful when you want to highlight a specific scenario in your prototype that you didn't start up front as a storyboard.

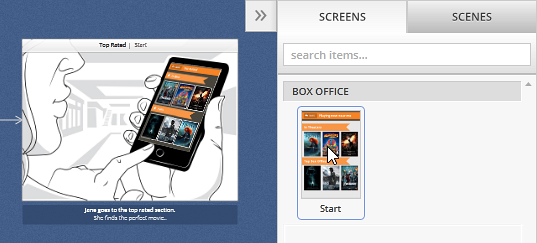
You can use scene placeholders so the scene will visually contain the screen.

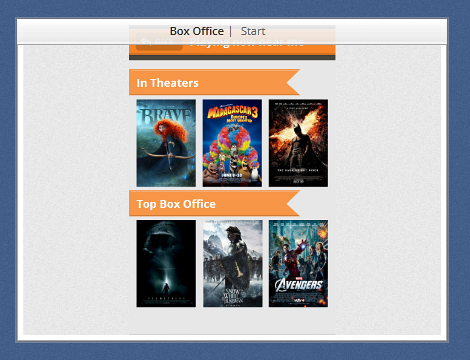
You can also have a step showing only the screen filling out the whole box.

Learn More
Here are some suggested topics: