Creating Your First Screenpart
Designing with Screenparts
Teaser
At the end of this topic you will have a screenpart with navigation to screens in your project. To start, you need a project with 2 screens. In this example, we have a project with Product Page and Blog Page screens.
In Brief
These are the main steps of the procedure:
- Creating a screenpart.
- (Optional) Editing the screenpart properties.
- Adding navigation to a screen in your project.
Step By Step
(a-1) 1. Create a screenpart.
You can create a screenpart either by converting elements in your screen to a screenpart or by creating a new screenpart design and adding elements to it.
To convert elements in your screen to a screenpart:
Add some elements to your screen.
For this example, create a logo with a title, a circle and an icon. Also add some other titles and a couple of rectangles.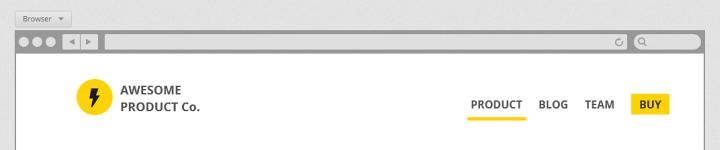
Multiselect the elements you've just added, and select the
Convert To Screenpartaction in theProperties Panel.
This option is particularly useful when you are designing a screen and you realize you'll need to reuse a part of it in other screens in your project. Also when you are creating a screenpart to use as a master.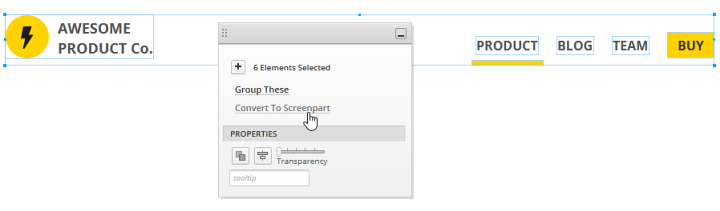
When you convert elements to screenpart, Indigo creates a screenpart document and opens it in the background without leaving the screen designer, where you now have a screenpart instance. Also, Indigo adds the new screenpart to the Screenparts tab in the Toolbox. Now all the screens in your project will have this screenpart available to reuse.

To create a new screenpart design you can also use the New button in the project home, select the Screenpartoption, and then add the elements to the screenpart. For other options see the Creating New Designs topic.
(a-2) 2. (Optional) Edit the screenpart properties.
Define the size, background color, and borders for your screenpart in the screenpart designer.

You can resize the screenpart by resizing its canvas, same as with screens.
(a-3) 3. Add navigation to a screen in your project.
Go to the screenpart designer.
This is your screenpart source. Changes that you make here will apply to all the screenpart instances in your project screens.
Select the Blog title and click on
Add an Interaction.
Click the
Navigatebutton.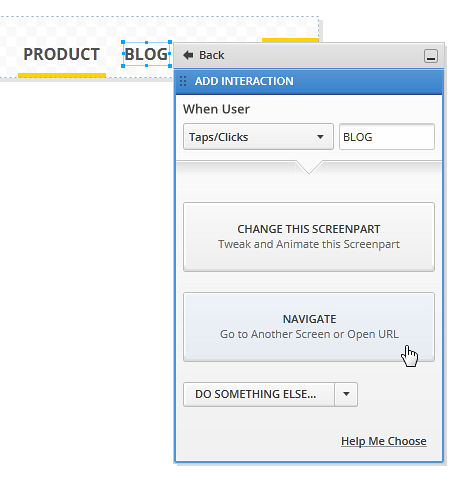
Click the
Screen in Projectbutton.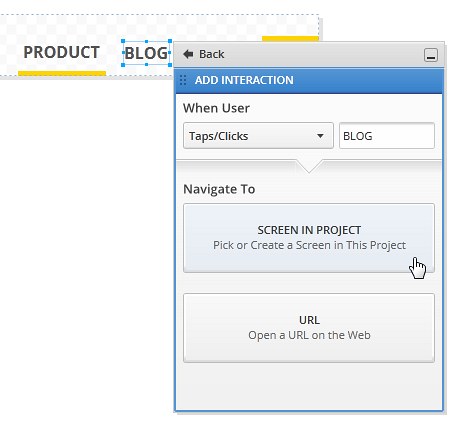
Select the Blog Page from the
Screen Picker.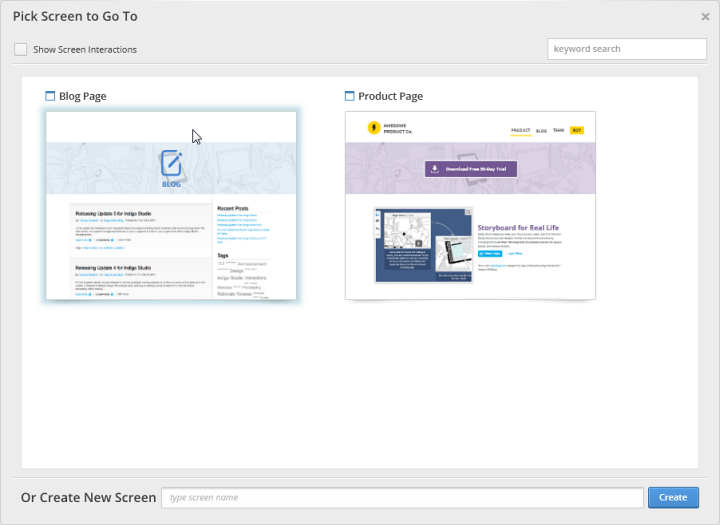
You can add navigation interactions to the rest of your titles, and you'll have your navigation header ready to go.
Learn More
Here are some suggested topics: