Adding Scrollable Containers
Working with UI elements
Teaser
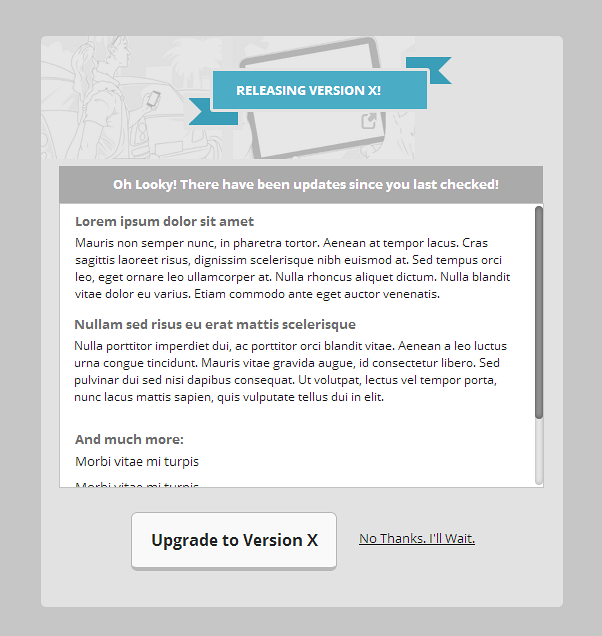
At the end of this topic you will have a screen with a scrollable container like the one in the following picture.
In Brief
These are the main steps of the procedure.
Step by step
(a-1) 1. Add a container.
Use Alt+drag and then type container to add a container to your screen.
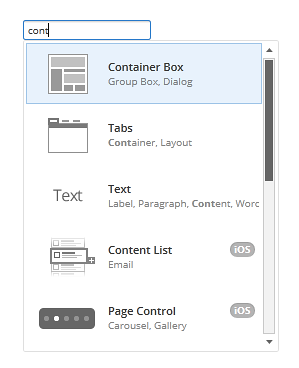
For more options on adding containers, see Using Containers.
(a-2) 2. Add elements to the container.
Double click the container to edit it.
Add some titles and labels, just like you add elements to the screen canvas.
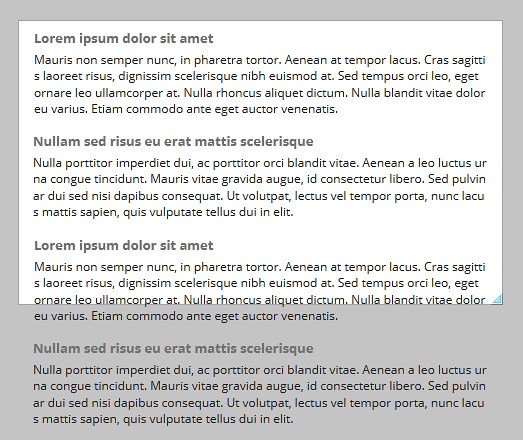
Make sure the text you add is longer than the height of the container.
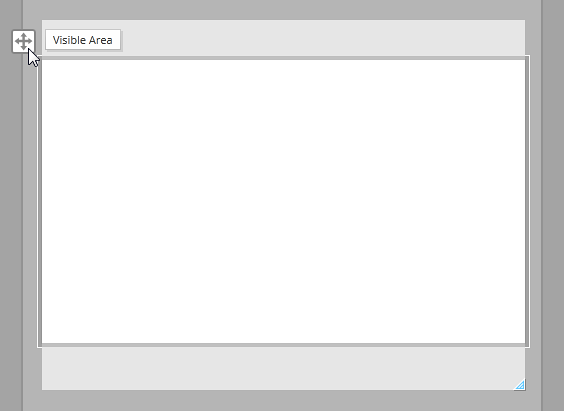
(a-3) 3. Enable scrolling in the container.
The text you added in the previous step is too long and won't be fully visible unless you enable a vertical scroll.
If you are not in edit mode, double click to edit the container.
Drag from the bottom right corner to enable the scroll. In this case, just drag downwards, to make the container canvas longer and enable vertical scroll only.

When scrolling is enabled in a container, you can move the visible area to place it somewhere other than in the default position.
Prototypes
Take a look at this prototype: