Creating Your First Storyboard
Designing with Storyboards
Teaser
At the end of this topic you will have a storyboard telling the story of how a person using a phone app to find a movie.

What you need
To start, you need a couple of screens in a project. For a walkthrough on how to create a screen, see Creating Your First Screen. To follow this example, you can use the FindFlix project sample, available from the Workspaces tab in the Application Menu.
In Brief
These are the main steps of the procedure:
- Creating a new storyboard.
- Adding content to the first step.
- Adding more steps.
- Adding a screen to a scene placeholder.
- Saving your storyboard.
Step by step
(a-1) 1. Create a new storyboard.
In the Project tab, click on the + icon and then select the Storyboard option.

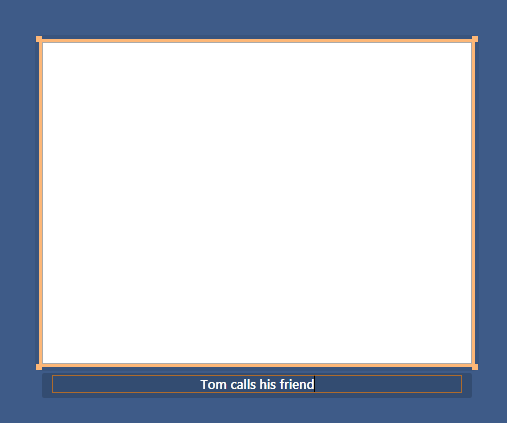
A new storyboard is created, containing a single empty step.

(a-2) 2. Add content to the first step.
Storyboards are made up of steps with a box to hold a picture, screen, or both, and some text.
Type a summary for your first storyboard step.
Tom calls his friend.
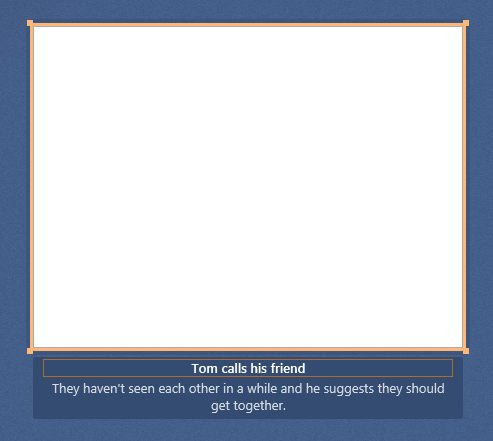
For writing more details, simply press Enter and type below the summary.
They haven't seen each other in a while and he suggests they should get together.
Add content to the box.
For box content, you can use a screen, an image from your computer, or a scene.
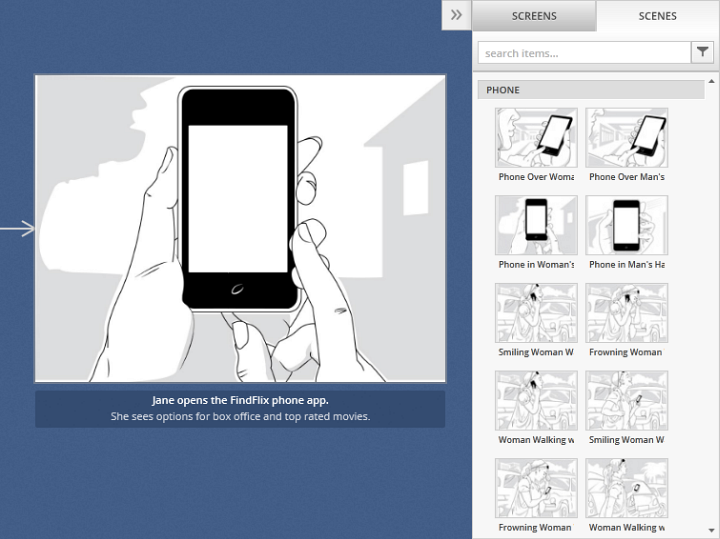
Select a scene from the
Scenestab in theToolboxand drag it onto the box.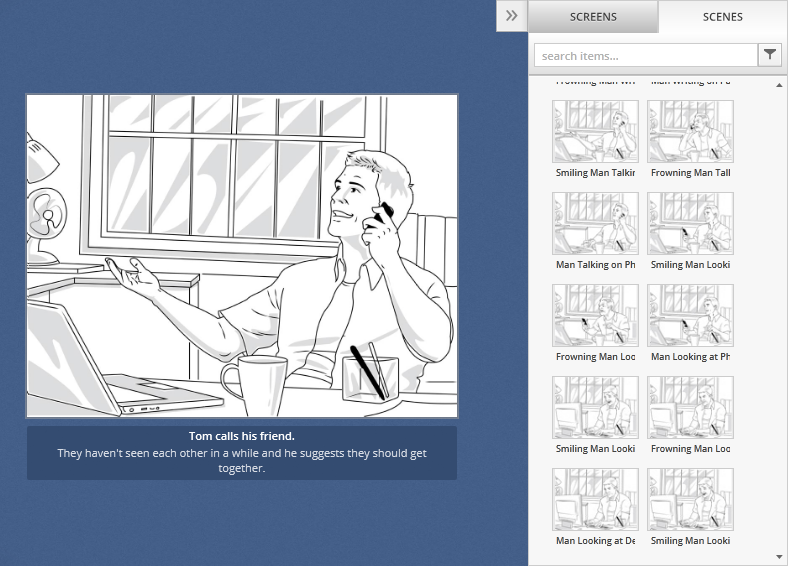
Now you have a step with a scene and narrative beneath it.

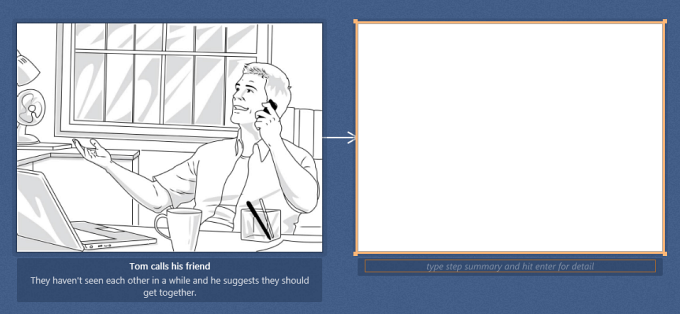
(a-3) 3. Add more steps.
- Hover the mouse cursor over the step. The context menu appears.

- Click the arrow to add the next step. You can drag it if you want to specifically position the new step.
You can continue adding steps by using the Tab key and writing the narrative below them. Once you have all the steps for your story, you can add the images.
These are the remaining frames in our example:
Jane picks up the phone. She feels like going to the movies.
Jane opens the FindFlix phone app. She sees options for box office and top rated movies.
Jane goes to the top rated section. She finds the perfect movie.
(a-4) 4. Add a screen to a scene placeholder.
The third step in the example has a scene with a scene placeholder. A scene placeholder is a part of the scene where you can add a screen. This enables you to include a screen showing an image of the actual application prototype.
Go to the
Scenestab in theToolbox.Select the scene with a scene placeholder and drag it onto the box.
Go to the
Screenstab in theToolbox.Select the screen and drag it onto the scene placeholder.
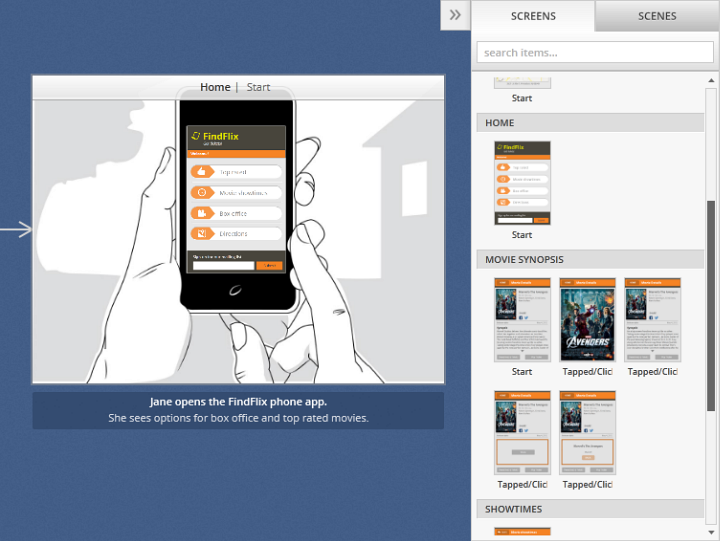
The image automatically adjusts to the hotspot.
(a-5) 5. Save your storyboard.
Right-click the
Storyboardtab.The context menu appears.

Select the
Saveoption.The
Savedialog appears.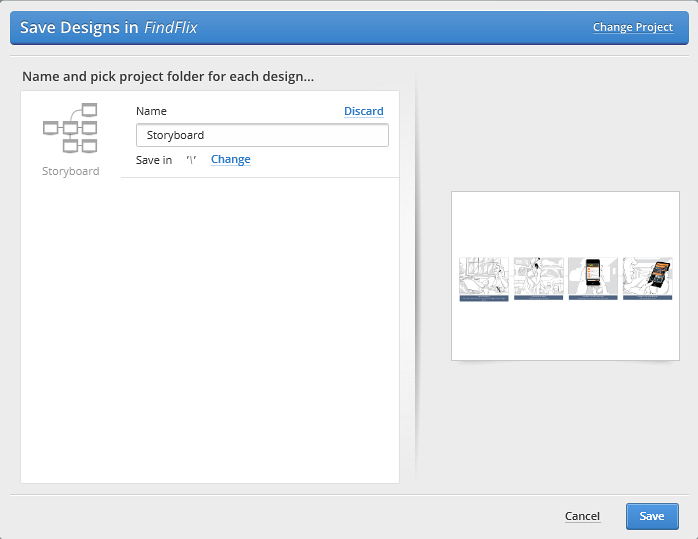
Click the
Savebutton.You can choose to change the name of the storyboard or the project it is in at this point.
Learn More
Here are some suggested topics: