Using Containers
Working with UI elements
Overview
Containers help you organize UI elements into visual blocks. A Container is an element itself so it has its own properties. At the same time, a container holds other elements inside it, which allows you to manipulate the way you display these elements. You can use a container to clip elements inside it or to show content that can be scrolled. You can even use nested containers to combine these features.
Working with Containers in a Screen or a Screenpart
These are some of the things you may need to do with containers:
- Adding a container
- Editing a container
- Adding elements to a container
- Nesting containers
- Accessing elements in a container
(a-1) Adding a container
To add a container, do one of the following:
- Alt+drag and then type container.
- Alt+click to create a container with a default size.
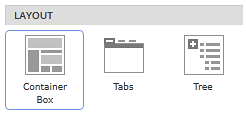
- Double-click or drag the container from the
Toolboxunder Layout.
(a-2) Editing a container
To enter edit mode, do one of the following:
- Double click the container.
- Select the container and hit Enter.
- Use the
Edit Container Contentaction in theProperties Panel. - Right-click and use the
Edit Container Contentaction in the context menu. - If you are working with nested containers, use the breadcrumbs in the top left corner of the designer to edit parent containers.

When editing a container, the rest of the designer surface is grayed out. You also get a message indicating you are editing a container.

To exit edit mode for a container, do one of the following:
- Hit Esc
- Double click.
- If you are working with nested containers, use the breadcrumbs in the top left corner of the designer to access parent containers or canvas (by clicking on the
X).
(a-3) Adding elements to a container
You can add elements inside a container in different ways:
Hold Space while dragging the element onto the container.
You can drag an element from theToolboxor one you've already added to the screen. If you drag an element without holding the Space key, as soon as the mouse cursor is over a container, Indigo will prompt you to hit the Space key to quick add the element to that container.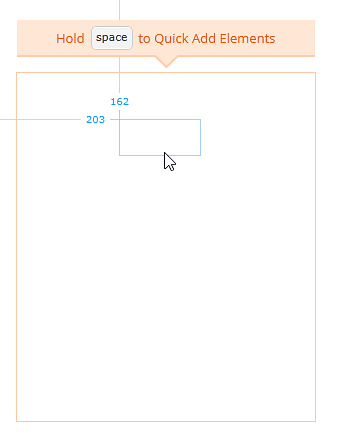
Enable edit mode for the container. Indigo will place any elements added in edit mode inside the container.
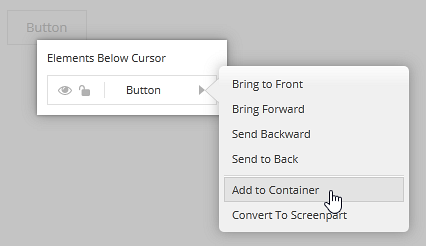
When in edit mode, use the
Add to Containeraction available in theProperties Panel(Space+click) or in the context menu (right click) for elements outside the container.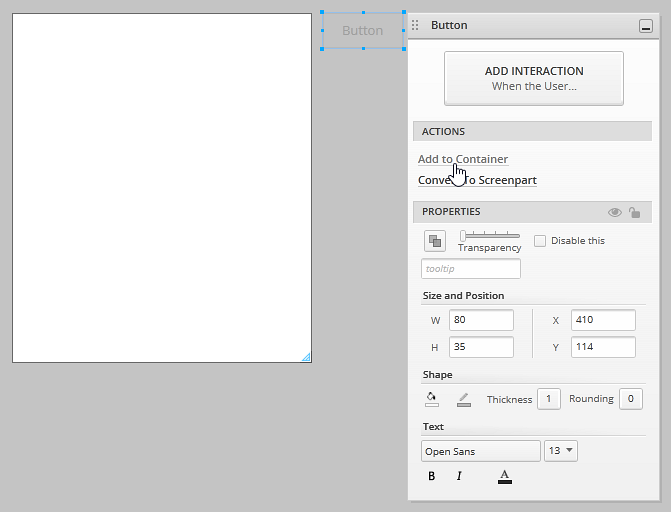
Use the
Elements and Layerspanel to move an existing element inside the container.
(a-4) Nesting containers
You can add a container inside another container just like you add any element inside a container.

(a-5) Accessing elements in a container
If you are not editing a container, you can still select elements inside it using Space+click.
If you are editing a nested container, you can double click on the parent container to edit it, or double click somewhere else on the designer to go to the top level. You can also use the breadcrumbs to know where you are and access parent containers or the canvas.