Exporting Prototypes to HTML
Using your prototypes
Overview
Indigo offers the possibility of generating prototypes locally to your computer so you can host them on your own servers or sharing services such as Google Drive, Dropbox, etc.
If you want to share your prototype using our servers, see Sharing Your Prototypes.
(a-1) Exporting to HTML using the default options
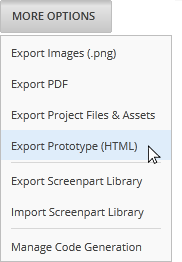
Click on
More Optionsin theProject Homeand select theExport Prototype (HTML)option.
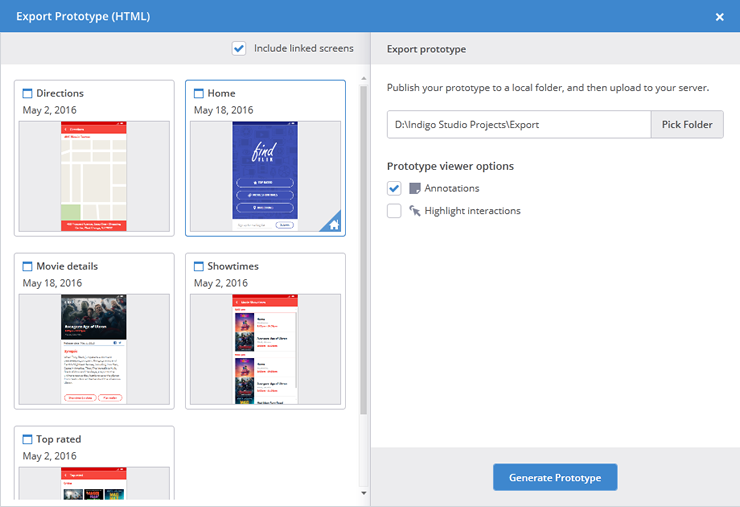
Select a folder to save your prototype.
Click on the
Generate Prototypebutton in theExport Prototypedialog.
Indigo creates an index.html file and some folders. You get a Publishing Complete! message and a button to open the folder where the new generated content is.
(a-2) Sharing the generated prototype
Copy the generated index.html file and folders in your server or sync service.
For the prototype to work, your service must be able to share the HTML file and the ones inside the folders using relative paths. If it doesn't work, check whether your service allows it. You may need to consult your service documentation and/or admins to see if this can be enabled.
For most servers, it should be enough to copy the generated content via FTP or some other file transfer mechanism to a folder in your website. Then you can send a link to it like https://yoursite.com/yourfolder/index.html (most servers optionally let you drop off the index.html part because it is considered the default document for a folder). If you rename index.html, you just need to change that in the link you share.
(a-3) Options
What to export
| Goal | Action | Looks like |
|---|---|---|
| Exporting the prototype | Click More Options in the Project Home and select the Export Prototype (HTML) option. |
![][img-1] |
| Exporting the prototype | Select the Export all in project Prototype (HTML) option from the Project tab context menu. |
![][img-3] |
| Exporting specific files | Select them in the Project Home and select the Export Selected option in the screen thumbnail context menu. |
![][img-4] |
| Exporting a screen and its linked screens | Select the Export Document Prototype (HTML) option from the Screen tab context menu. |
![][img-5] |
Checking the Include linked screens option in the export dialog will include screens outside your selection but reachable through links in the prototype. This way you make sure there are no broken links in your prototype. When viewing the prototype, use the table of contents in the Prototype Viewer to get to screens that are not reachable through links.
Starting Point
The starting point is the first screen that viewers of your prototype will see when they access it. You can see its thumbnail marked with a home icon in the Project Home. If you do not have a starting point set for the selected screens, Indigo will ask you to choose one.

Prototype Viewer Options
| Option | Description | Default |
|---|---|---|
| Annotations | Displays notes, arrows and callouts from the annotation layer. Doesn't apply to mobile devices. | On |
| Highlight interactions | Displays a highlight for elements with interactions. | Off |