Simulating Scrolling and Panning
Working with UI elements
Overview
Indigo Studio provides several options for simulating scrolling, panning and paging.
These are the different ways to do it:
- Animating elements into view on a screen
- Using the canvas size
- Using transitions
Read on to find out how to use the canvas size and transitions, or see the Animating Elements Into View On A Screen topic.
Using the canvas size - Teaser
In this walkthrough you will add a scrollable image of a map to a prototype designed for iPhone 6. Here's what it will look like when you run the preview.

Using the canvas size - In Brief
- Selecting a platform.
- Changing the canvas size.
- Adding an image.
- (Optional) Moving the chrome.
- Running the screen preview.
Using the canvas size - Step By Step
(a-1) 1. Select a platform
Choose one of the options from the Platform picker, other than generic. If you choose generic, you won't have a chrome and you won't be able to use the difference in sizes to enable scrolling and panning. To match the screen in the example, select the iPhone 6 viewport.

This sets the size for your viewport and canvas. The Platform Properties panel appears.

(a-2) 2. Change the canvas size.
For browser and generic devices, you can see a dropdown for the viewport size and another one for the canvas size.

For iOS devices the viewport has a fixed size, so you can only change the canvas size.
By default, the canvas size is set to Snap to Viewport, which means the viewport and the canvas are the same size.
Click the canvas size dropdown list and choose the
Customoption.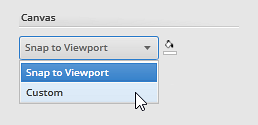
Type values for the width and height, so that the canvas is bigger than the viewport. In this case, set the canvas size to match the image of the map you are going to add.
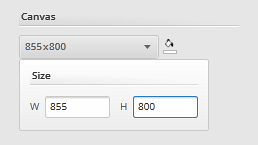
Now your canvas is bigger than the viewport.

(a-3) 3. Add an image.
Alt+click and start typing image to add an image.
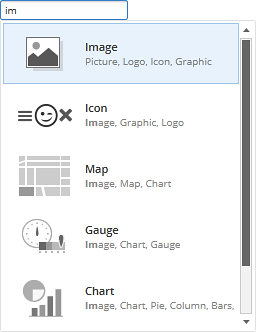
Double click on the image and select a picture of a map from your computer.
Align the image so it is centered with the canvas.
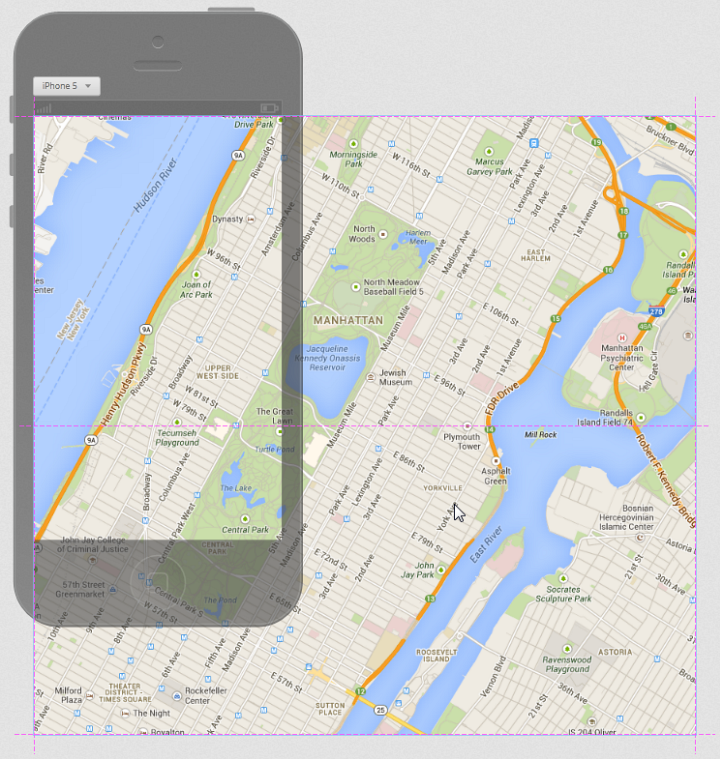
(a-4) 4. (Optional) Move the chrome.
Drag the chrome to place it where you want it to be when the screen loads. By default, the chrome is placed aligned to the top left corner of the canvas.

(a-5) 5. Run the screen preview.
Click on the Run Screen option at the top of the designer.

The preview runs and you can try scrolling and panning on your map. When you share this prototype, the user on a phone will be able to pan around on the map.
Using transitions
You can choose from several animations when transitioning from one screen to another. Push and Slide effects are useful to simulate paging.
To see how this works, add a new interaction that navigates to another screen. When you do this, Screen to Screen transition options appear at the bottom of the Edit Interaction panel.
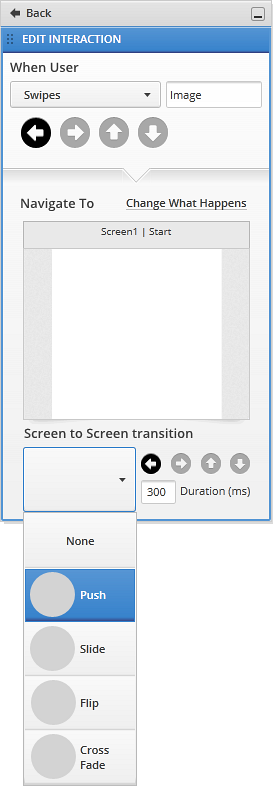
When hovering over the image for each transition you can see an animation that demonstrates what the transition will look like. You can also select a duration and a direction for the transition.