Clipping Elements Using a Container
Working with UI elements
Teaser
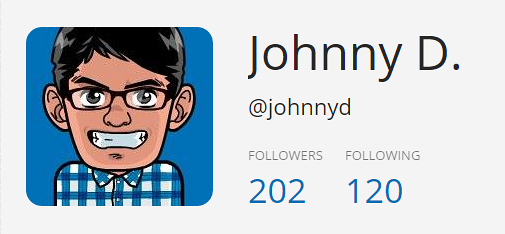
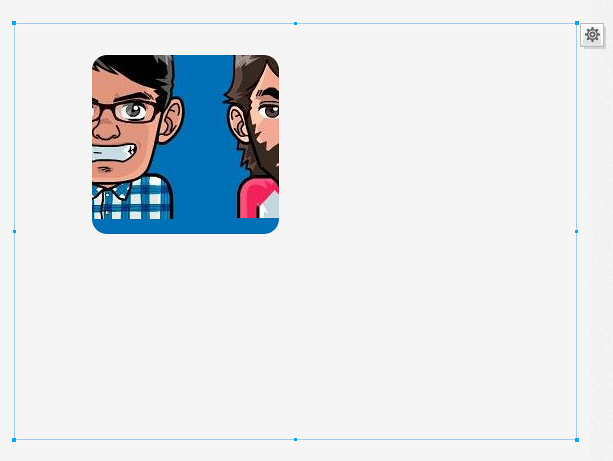
At the end of this topic you will have a screen with a container used to clip an image like the one in the following picture.
In Brief
These are the main steps of the procedure.
- Adding a container.
- Adding elements to the container.
- Clipping elements inside the container.
Step by step
1. Add a container.
Use Alt+drag and then type container to add a container to your screen.
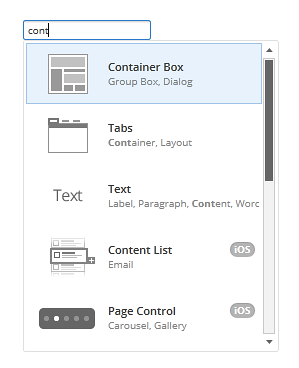
For more options on adding containers, see Using Containers.
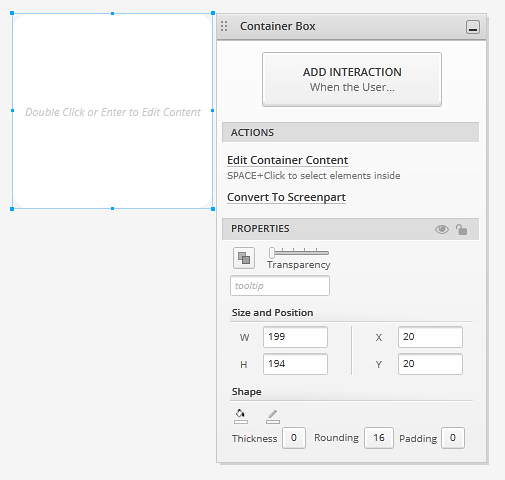
Edit the properties of the container.
Set the thickness to 0 and the rounding to 16 to make it look like the one in the example.
2. Add elements to the container.
Double click the container to enter edit mode.
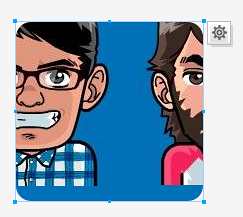
Add an image.
The image in the example has several avatars that you can change for different versions of your prototype.

3. Clip elements inside the container.
During edit mode you'll be able to see any elements you add to the container, even if they are not within the visible area.
Hit Escape to leave edit mode.
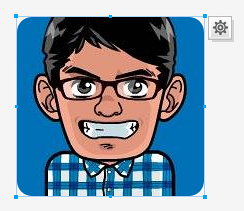
The image looks clipped. This is how you'll see it when you run the prototype.
Space+click to select the image.
Move the image so one avatar fits the visible area of the container.
Prototypes
Take a look at this prototype: