Using Maps in Your Designs
Working with UI elements
The Map stencil in your screens and screenparts allows you to display an actual map when viewing a prototype.

To do this, you need to get the embed code for the map, usually contained within HTML < iframe> tags, from the map service. Currently, Indigo only supports the Google Map service. You can find instructions on how to get the embed code here.
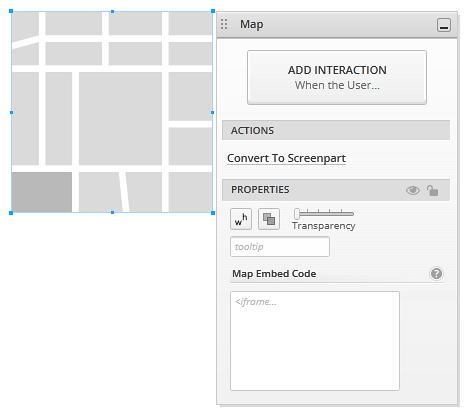
Once you have the code, set the stencil to display this iframe. Just click on the map in the designer to display the Properties Panel, and paste the tag in the textbox for the Map Embed Code.
Here’s the iframe tag used in the example for this topic, in case you want to try it out:
<iframe src="https://www.google.com/maps/embed?pb=!1m14!1m8!1m3!1d3042.240752782823!2d-74.66113606613159!3d40.314814097924376!3m2!1i1024!2i768!4f13.1!3m3!1m2!1s0x89c3e1151989d213%3A0x72666d445f9bb12d!2sUnited+Artists+Market+Fair+Stadium+10+Movie+Theater!5e0!3m2!1ses!2suy!4v1419361887856" width="600" height="450" frameborder="0" style="border:0">
</iframe>
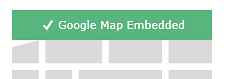
In the designer, you'll see a message indicating the stencil has an embedded map.
The Prototype Viewer will display the map inside the stencil with the size you set in the designer. You can use any of the map configurations available, such as directions or street view.
You can also simulate interactivity with the map. For example, you can switch to Earth view or Directions by clicking/tapping on a button. For this, you need to change the embed code in a different state. For more on interactions, see Adding Your First Interaction.